You have no items in your shopping cart.
Navigation
-
Forks
- Book Service & Tuning
- Service Info & Pricing
- Find Your Fork
- Parts for Forks
- Full Service Kits (seals, tools & oils)
- Factory & SC Rebuild Kits
- Wiper Kits
- Internal Seal Kits
- Seals Individual
- Air Shafts & Parts
- Axles
- Bearings
- Bolts & Screws
- Bushings
- Coil Springs & Ride Kits
- Crush Washers
- Damper Parts
- Foam Rings
- Hose Guides
- Knobs
- Lower Legs
- Mud Guards
- Remotes & Lockout
- Travel Spacers
- Update Parts
- Valves & Parts
- Volume Spacers
- CSUs
- Tuning & Upgrades for Forks
- New Forks
- Bike Fitments
- Shocks
- Droppers
- Lubricants
-
Tools
- Shockcraft Tools
- Air Tools, Pumps & Fittings
- BB Tools
- Bearing Tools
- Bleed Tools & Fittings
- Brake Tools
- Bushing Tools
- Cassette Tools
- Clamp Blocks
- Cleaning
- Dropper Post Tools
- Fork Tools
- Hex Wrench Tools (Allen Keys)
- Hub Tools
- Oil & Grease Tools
- Rear Shock Tools
- Seal Press Tools
- Enduro & RWC Tools
- Fox Tools
- Hayes Tools
- Manitou Tools
- Park Tools
- Rockshox Tools
- Specialized Tools
- SUNringlé Tools
- Vorsprung Tools
- Online & Download
-
Brands
- X-Fusion
- Ariete
- Avanti
- BMC
- Cane Creek
- Canyon
- Commencal
- DT Swiss
- DVO
- Enduro
- EXT
- Fox
- FSA
- Giant
- Hayes
- Hope
- Igus
- Industry Nine
- Intense
- Ironhorse
- Jagwire
- Kalloy-UNO
- Kindshock
- Lezyne
- Manitou
- Marin
- Marzocchi
- Monocrome
- Motorex
- Norco
- Öhlins
- Pivot Cycles
- ProTaper
- Real World Cycling
- RockShox
- Santa Cruz
- Scott
- Sendy
- Shockcraft
- Shimano
- SKF
- Slickoleum
- Specialized
- Sprindex
- SRAM
- SUNringlé
- Transition
- Trek
- Vorsprung
- Wheelsmith
- Yeti
- YT
-
Manitou
- Find Your New Suspension
- Warranty Information - Manitou
- In Stock Forks, Shocks & Droppers
- Latest Releases
- Forks
- Fork Search Tool
- R8 (XC)
- Mattoc 2023
- Mezzer (Enduro, Trail)
- Dorado 37 mm (DH)
- Circus (Dirt Jump)
- JUnit (Kids, Cargo)
- Machete (XC, Trail, Bike Packing, E-MTB)
- Mattoc Pre-2021 (Trail, Enduro, E-MTB)
- Mastodon (Fat)
- Markhor (26", Value, XC, Trail, E-MTB)
- R7 (XC, Trail, Bike Packing, E-MTB)
- Custom Built Forks
- Historic Manitou Forks
- New Old Stock Manitou Forks
- Fork Parts
- Seals & Rebuild Kits
- Air Spring Parts
- Axles & Axle Parts
- Bolts & Screws
- Bushings
- Coil Spring Parts
- Crown Steerer Assembly (CSA/CSU)
- Damper Parts
- Damper Shafts TPC & SPV
- Hose Guides
- Knobs & Caps
- Lower Legs
- Mud Guards/Fenders
- Pistons
- Remotes & Lockout
- Ride Kits
- Tools
- Travel Spacers
- Vintage Manitou 91-95/96
- Fork Small Parts
- MARS Air/Coil System Parts
- Rear Shocks
- Rear Shock Parts
- Dropper Posts
- Tuning & Upgrade
- Demo Manitou & Hayes
- Kids' JUnit Range
- Decals
- Lubricants
- Seal Kits
- Tools
- All Manitou
- Hayes Brakes
- Bearings & Bushings
-
Technical
- Buy Support
- 3D Print Files
- Suspension Setup
- Calculators
- Pick & Mix Install Instructions
- Bearing Help
- Bottom Bracket Info
- Dropper Posts - what can go wrong
- Headset Bearing Identification
- High Flow Pistons & Oil Flow
- Manitou Cable Routing
- Measuring Shock Hardware
- Suspension Oils
- Suspension Service - What Is It?
- Suspension Service Intervals | Tips for Service
- Shock Sizes Explained
- Swag
- Everything Else
-
Forks
- Book Service & Tuning
- Service Info & Pricing
- Find Your Fork
- Parts for Forks
- Full Service Kits (seals, tools & oils)
- Factory & SC Rebuild Kits
- Wiper Kits
- Internal Seal Kits
- Seals Individual
- Air Shafts & Parts
- Axles
- Bearings
- Bolts & Screws
- Bushings
- Coil Springs & Ride Kits
- Crush Washers
- Damper Parts
- Foam Rings
- Hose Guides
- Knobs
- Lower Legs
- Mud Guards
- Remotes & Lockout
- Travel Spacers
- Update Parts
- Valves & Parts
- Volume Spacers
- CSUs
- Tuning & Upgrades for Forks
- New Forks
- Bike Fitments
-
Shocks
-
Droppers
-
Lubricants
-
Tools
- Shockcraft Tools
- Air Tools, Pumps & Fittings
- BB Tools
- Bearing Tools
- Bleed Tools & Fittings
- Brake Tools
- Bushing Tools
- Cassette Tools
- Clamp Blocks
- Cleaning
- Dropper Post Tools
- Fork Tools
- Hex Wrench Tools (Allen Keys)
- Hub Tools
- Oil & Grease Tools
- Rear Shock Tools
- Seal Press Tools
- Enduro & RWC Tools
- Fox Tools
- Hayes Tools
- Manitou Tools
- Park Tools
- Rockshox Tools
- Specialized Tools
- SUNringlé Tools
- Vorsprung Tools
- Online & Download
-
Brands
- X-Fusion
- Ariete
- Avanti
- BMC
- Cane Creek
- Canyon
- Commencal
- DT Swiss
- DVO
- Enduro
- EXT
- Fox
- FSA
- Giant
- Hayes
- Hope
- Igus
- Industry Nine
- Intense
- Ironhorse
- Jagwire
- Kalloy-UNO
- Kindshock
- Lezyne
- Manitou
- Marin
- Marzocchi
- Monocrome
- Motorex
- Norco
- Öhlins
- Pivot Cycles
- ProTaper
- Real World Cycling
- RockShox
- Santa Cruz
- Scott
- Sendy
- Shockcraft
- Shimano
- SKF
- Slickoleum
- Specialized
- Sprindex
- SRAM
- SUNringlé
- Transition
- Trek
- Vorsprung
- Wheelsmith
- Yeti
- YT
-
Manitou
- Find Your New Suspension
- Warranty Information - Manitou
- In Stock Forks, Shocks & Droppers
- Latest Releases
- Forks
- Fork Search Tool
- R8 (XC)
- Mattoc 2023
- Mezzer (Enduro, Trail)
- Dorado 37 mm (DH)
- Circus (Dirt Jump)
- JUnit (Kids, Cargo)
- Machete (XC, Trail, Bike Packing, E-MTB)
- Mattoc Pre-2021 (Trail, Enduro, E-MTB)
- Mastodon (Fat)
- Markhor (26", Value, XC, Trail, E-MTB)
- R7 (XC, Trail, Bike Packing, E-MTB)
- Custom Built Forks
- Historic Manitou Forks
- New Old Stock Manitou Forks
- Fork Parts
- Seals & Rebuild Kits
- Air Spring Parts
- Axles & Axle Parts
- Bolts & Screws
- Bushings
- Coil Spring Parts
- Crown Steerer Assembly (CSA/CSU)
- Damper Parts
- Damper Shafts TPC & SPV
- Hose Guides
- Knobs & Caps
- Lower Legs
- Mud Guards/Fenders
- Pistons
- Remotes & Lockout
- Ride Kits
- Tools
- Travel Spacers
- Vintage Manitou 91-95/96
- Fork Small Parts
- MARS Air/Coil System Parts
- Rear Shocks
- Rear Shock Parts
- Dropper Posts
- Tuning & Upgrade
- Demo Manitou & Hayes
- Kids' JUnit Range
- Decals
- Lubricants
- Seal Kits
- Tools
- All Manitou
- Hayes Brakes
-
Bearings & Bushings
-
Technical
- Buy Support
- 3D Print Files
- Suspension Setup
- Calculators
- Pick & Mix Install Instructions
- Bearing Help
- Bottom Bracket Info
- Dropper Posts - what can go wrong
- Headset Bearing Identification
- High Flow Pistons & Oil Flow
- Manitou Cable Routing
- Measuring Shock Hardware
- Suspension Oils
- Suspension Service - What Is It?
- Suspension Service Intervals | Tips for Service
- Shock Sizes Explained
- Swag
- Everything Else
- Home /
- Technical /
- Bottom Bracket Info /
- Bottom Brackets & Undersize Cranks
Bottom Brackets & Undersize Cranks
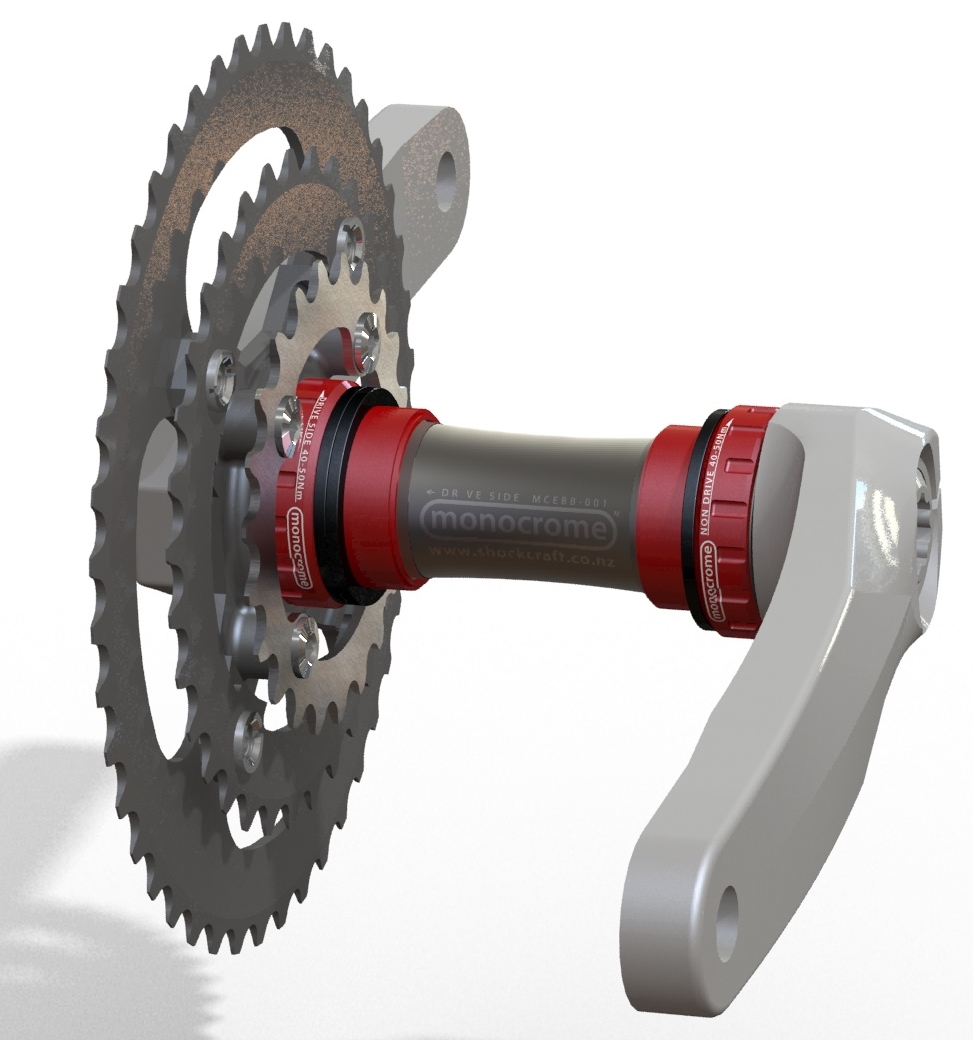 The Problem
You've just installed a new BB with used cranks and they have a knock or free-play in them vertically.
The Cranks
Crank-sets with a straight 24 mm spindle (Shimano, RF, FSA etc) rely on a good fit between the bearing caps and the crank spindle. Any small gap can be felt. GXP crank-sets need the non-drive side bearing clamped tight and the drive side cap to be a good fit on the spindle. To find the problem side, rest your fingers where the crank joins the bottom bracket and feel for movement while rocking the cranks with your other hand. Any up/down movement will need sorted. In-out sliding movement is crank adjustment.Is it the crank or the bottom bracket?
GXP cranks clamp the non-drive side bearing and adapter. Some GXP cranks have very tight splines and simply require more grease and torque than normal to close the gap and clamp up tight. If you have play in a GXP drive side or either side of a Shimano/FSA/RaceFace 24mm crank then the fit of the bearings/caps to axle needs checked.Bearing Cap Check
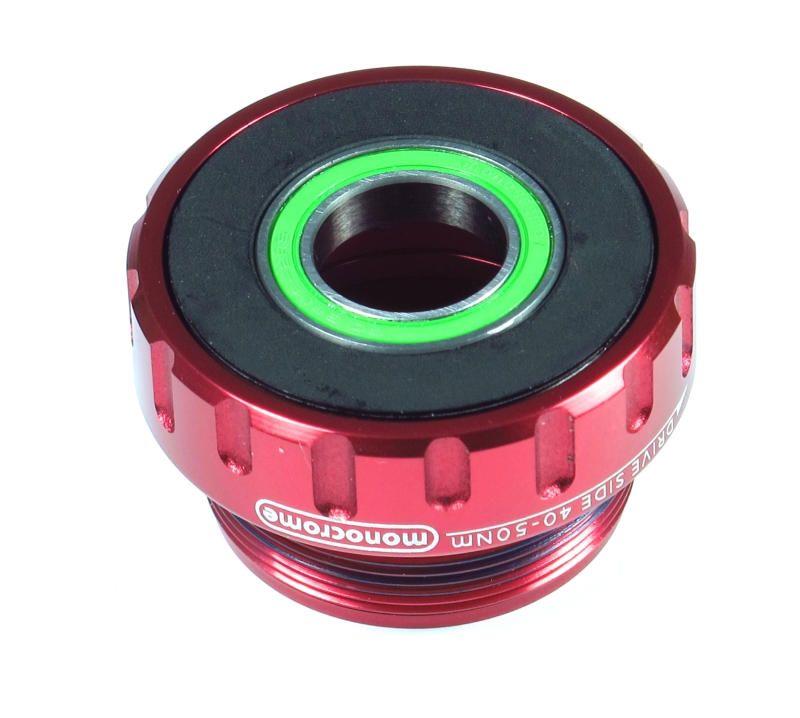
To check the bearing caps you need a bearing of 24 mm outside diameter. Common sizes are 6901 and 6802. Press the bearing into the cap as shown in the photo below. If the fit is good, the bearing and cap are fine and the axle is the problem. If the fit is loose then please contact us for replacement caps.My Shaft is Worn
Used cranks with spindles (aka shafts, axles etc) worn enough to cause a problem are becoming common. The wear is usually caused by rust/corrosion or a previous bottom bracket locking up. It takes very little wear to create a noticeable knock or play at the crank arms. 0.2 mm is significant. There are two solutions: replace the crank (expensive) or pack out the bearing cap to fit the worn crank.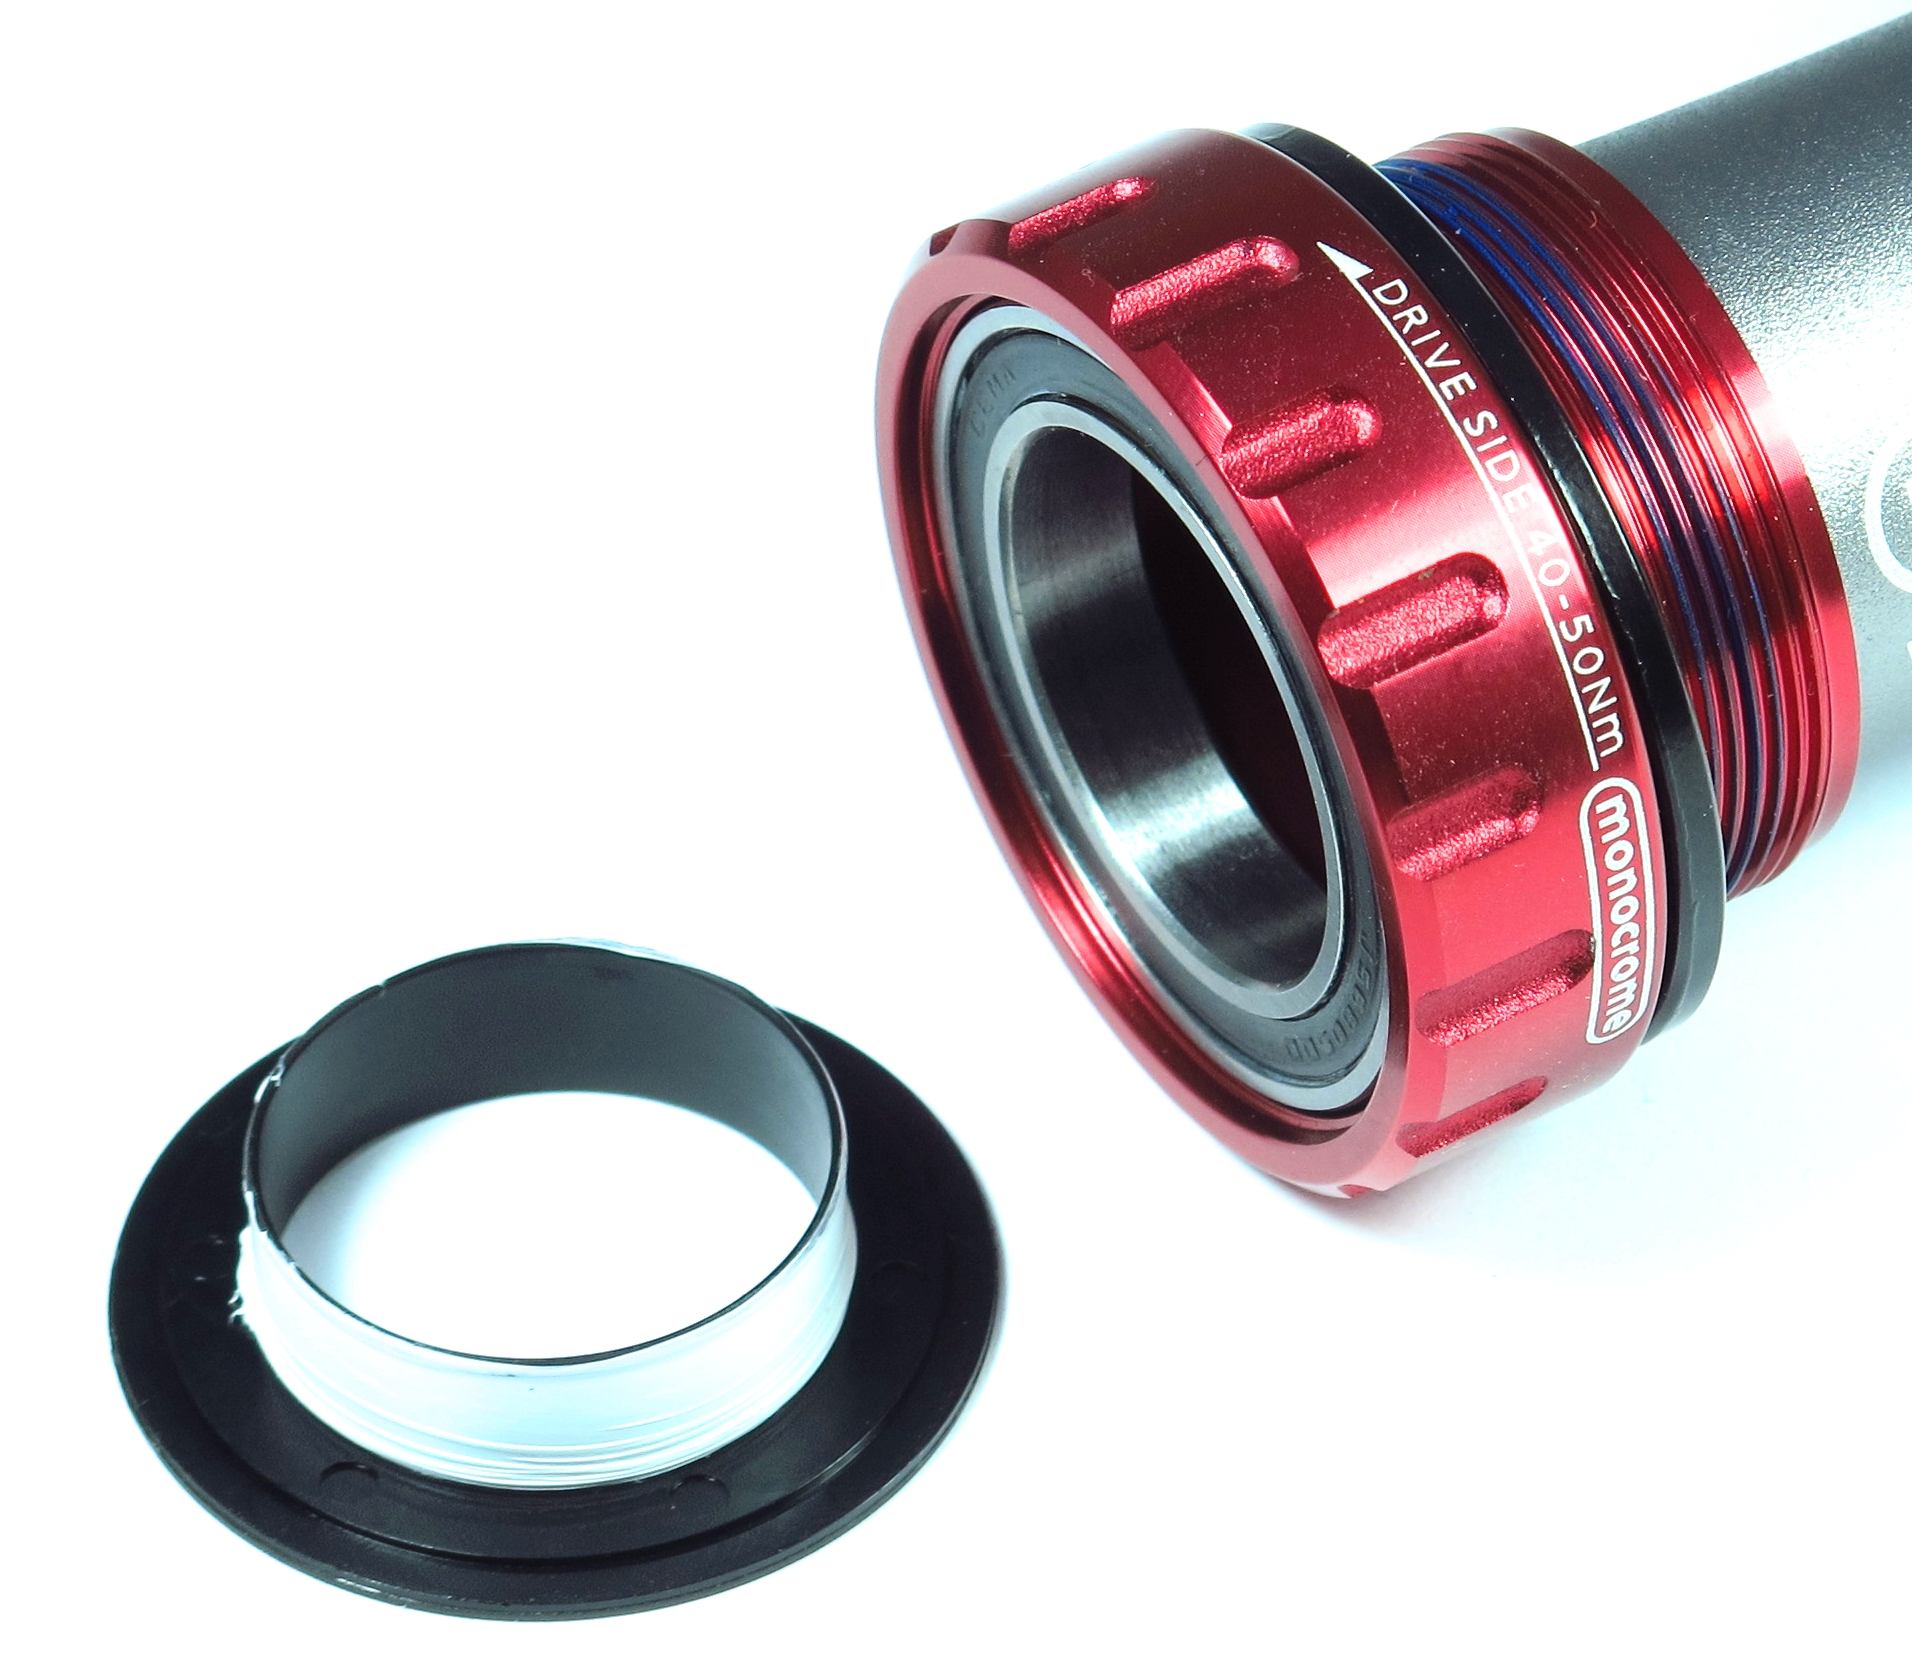 Packing & Installation
Get a roll of PTFE (teflon) plumber's thread-seal tape. Remove the cap from the bad side, then carefully wrap the tape around the snout of the bearing cap. Each turn will give up to 0.2 mm of size reduction. Peel off any dags and reinstall the cap with tape into the bearing. The tape will cause the cap to compress, shrinking the hole through the cap and taking up spindle/cap clearance. Repeat with more or less tape until a good fit is achieved.
Test Ride
Then ride some more. This fix is permanent, but reversible.
Written by:
Dougal,
Shockcraft
You may also be interested in our range of Technical Articles & Resources, written to help with bike maintenance & suspension setup.
Recent Posts
-
Good suspension should be stable and supportive while being planted, y...
-
Deans Bank 6 Hour, Wanaka Bike Wanaka is back with their Deans Bank r...
-
Bike of the Month, October 2023 Transition Smuggler with Ready Mix Tu...
Categories

| Thank you for Signing Up |
Instagram


